Image may be NSFW.
Clik here to view. I was looking for a gift for my friend’s son, who’s about a year old. I realized that everything I was looking at was just various enclosures with chips that made sound and light…that’s the kind of crap I can do!
So I built a theremin-type thing. It plays notes based on how close you are to its ‘eyes’, which are an ultrasonic distance sensor, and the nose is a small speaker.
Video:
Build log after the break.
I prototyped it on a breadboard with an ATtiny85 (the little 8-pin thing). It worked fine, so I slapped it onto protoboard with some female headers so I could plug in and make changes.
Image may be NSFW.
Clik here to view.
The case is made of a 6 inch length of 2×4. I sliced it longways twice on the bandsaw, then bandsawed out a cavity in the middle piece in order to make a box. Two holes for the ultrasonic “eyes” plus one for the speaker “nose”. I jammed a switch on the side and spliced in a 9V battery terminal with a 7805 voltage regulator.
Image may be NSFW.
Clik here to view.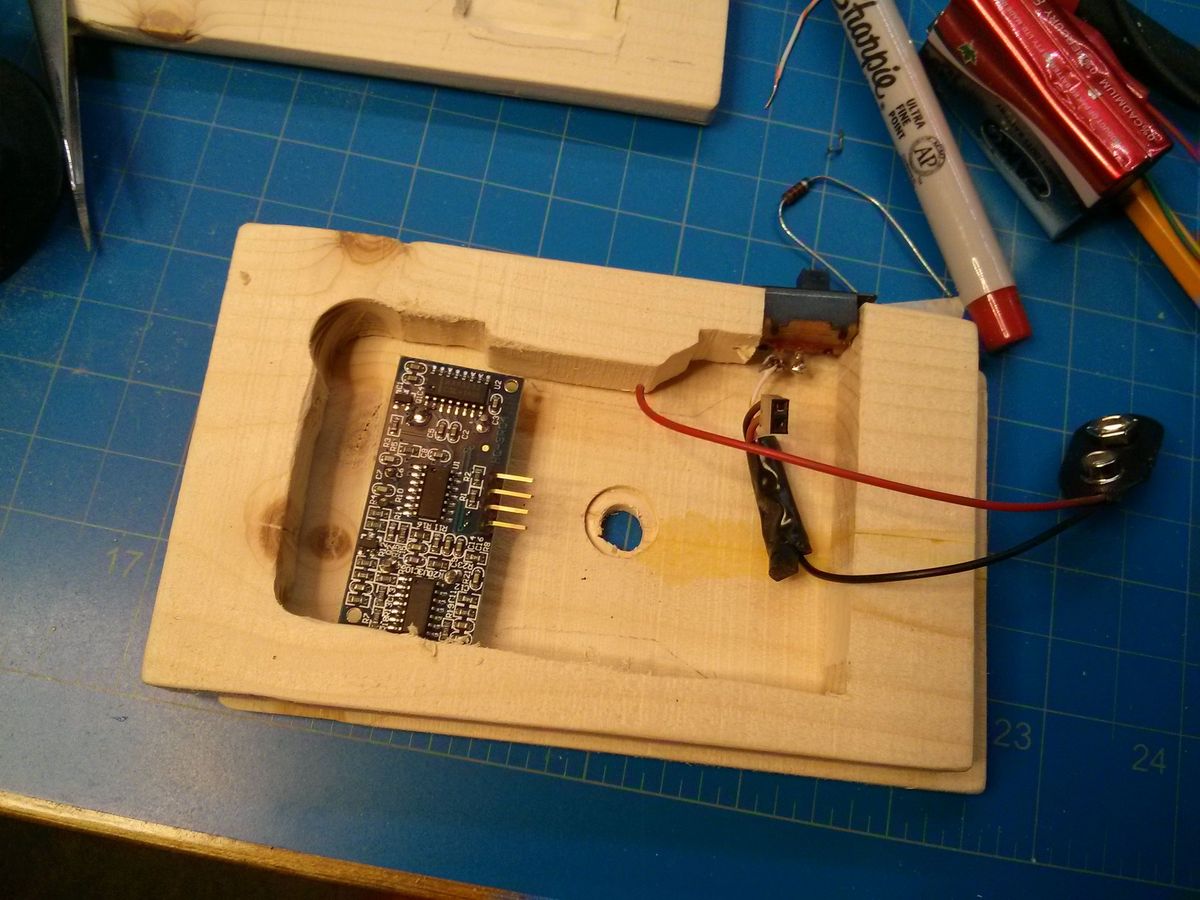
The battery didn’t want to fit, but a dremel fixed that.Image may be NSFW.
Clik here to view.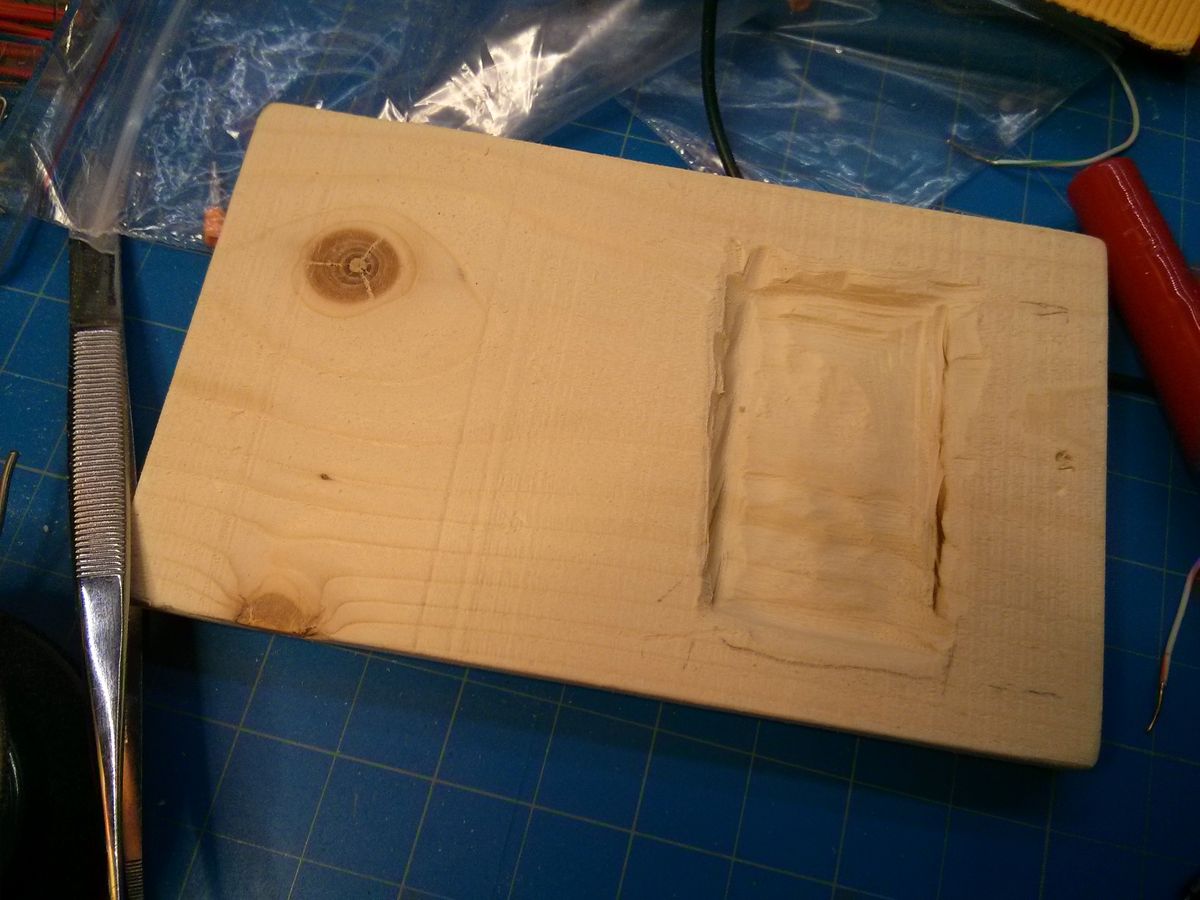
I decided to add an indicator light late in the build, so I spliced a resistor and some thin wire onto this LED and heatshrunk the joint. This got soldered straight onto the board, which quickly became a nexus of solder blobs.
Image may be NSFW.
Clik here to view.
I realized too late that I needed a pullup resistor on the reset line, so I just slapped one on the back of the board. While I was there, I figured I’d add a decoupling capacitor.Image may be NSFW.
Clik here to view.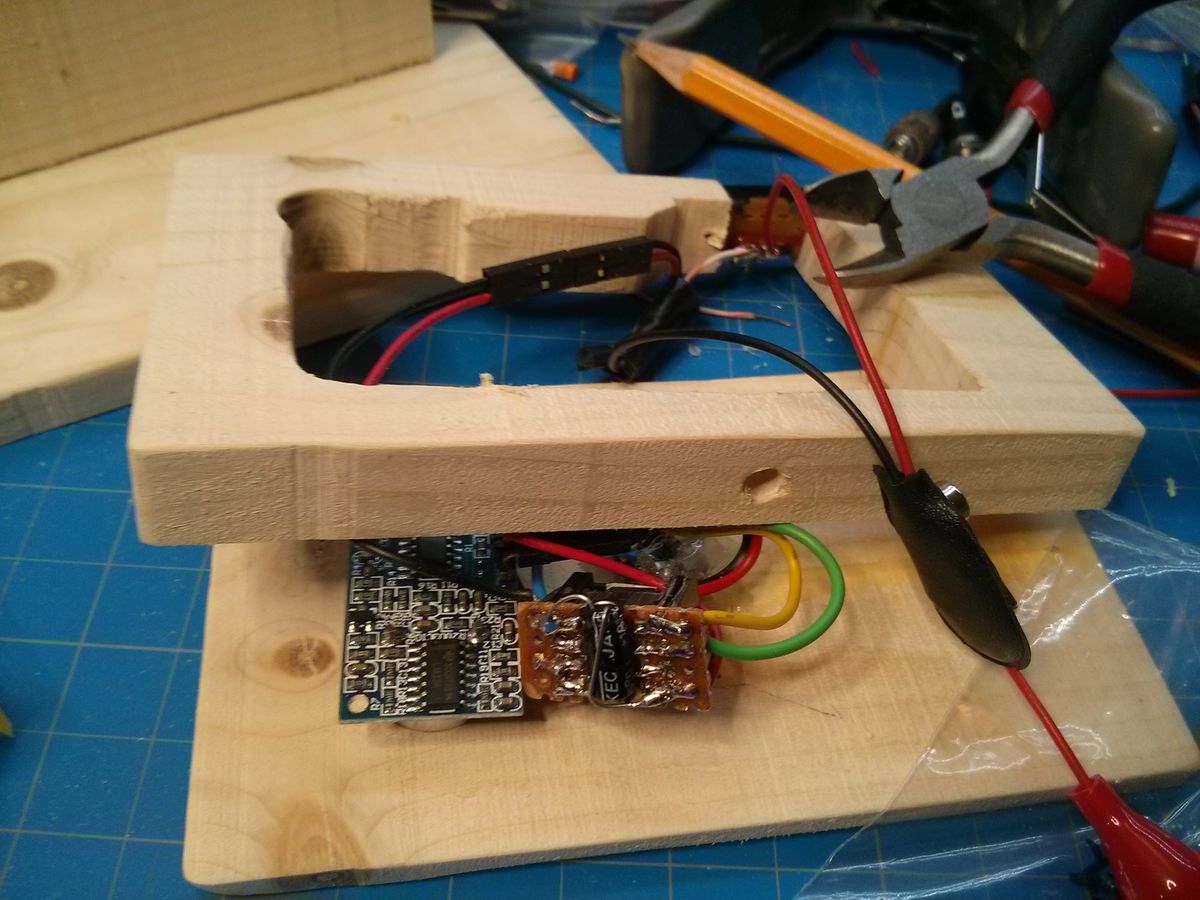
Jamming it all in there. In order to keep the ultrasonic from slipping back, I put dollops of hot glue on the back so it would rest against the back of the case.Image may be NSFW.
Clik here to view.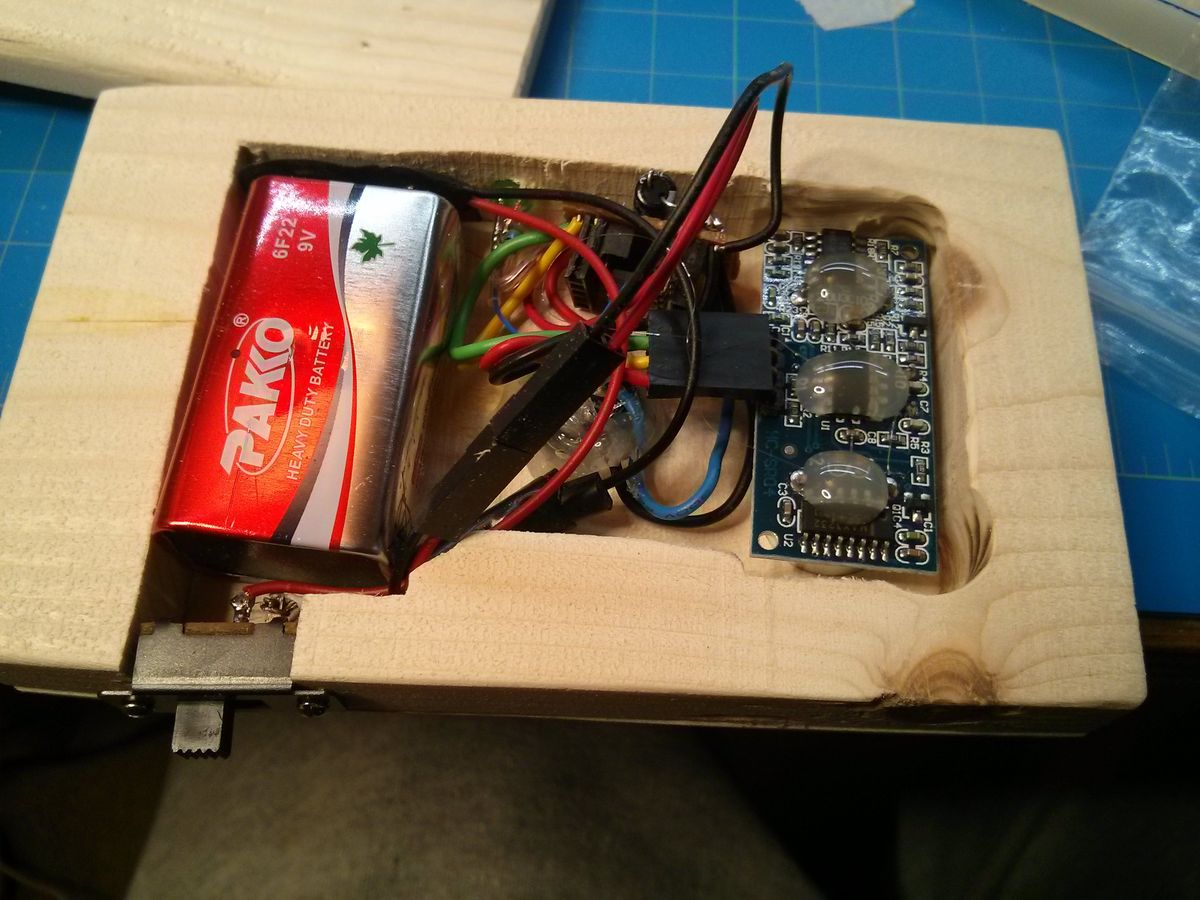
My highly well-planned circuit diagram.Image may be NSFW.
Clik here to view.
I woodglued the front to the middle, and hotglued the speaker into the cavity.Image may be NSFW.
Clik here to view.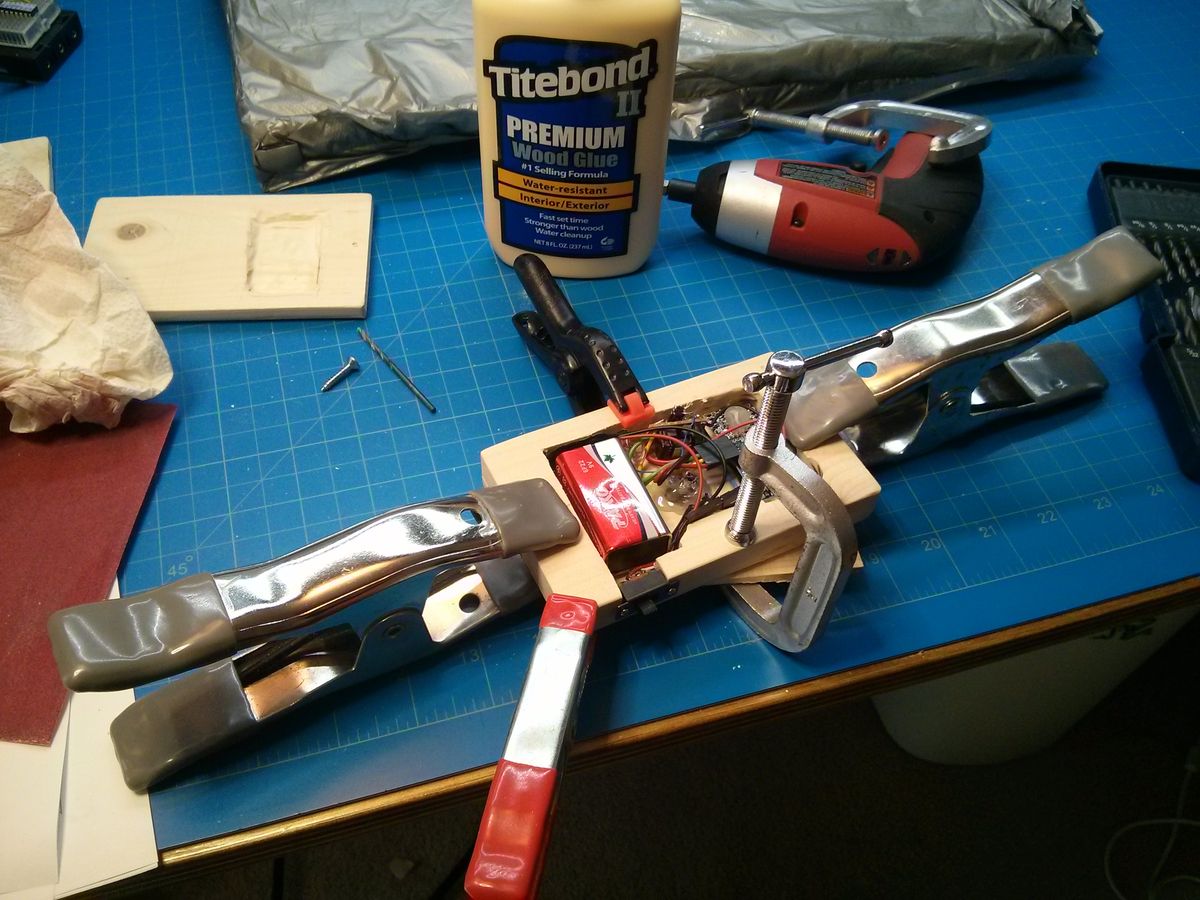
After a lot of trial and error trying to secure it with wood screws, I switched to 6-32 machine screws with tee nuts.Image may be NSFW.
Clik here to view.
Here’s a video of it in action:
In order to paint and finish it quickly, I stole this dude’s finishing technique and held the piece up with some nails in wood.Image may be NSFW.
Clik here to view.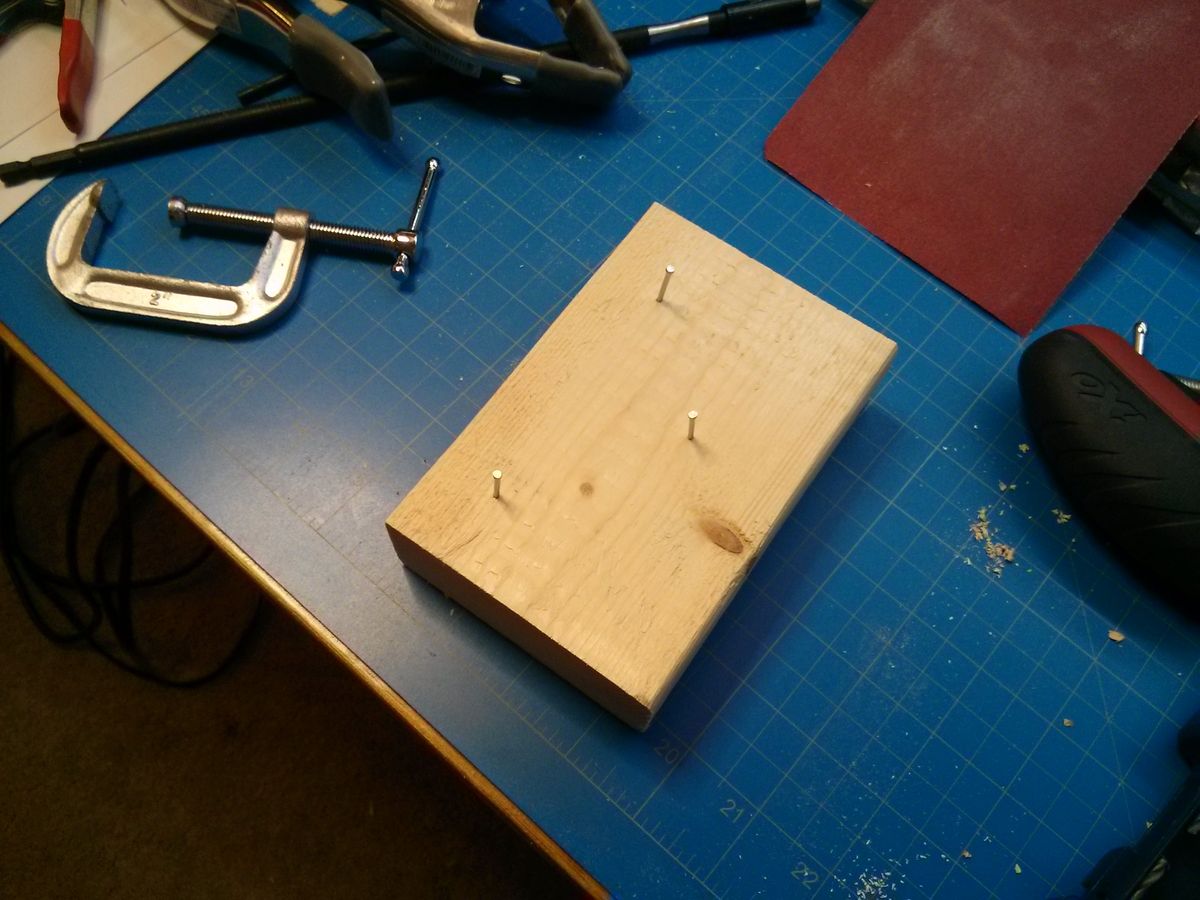
I painted it with these paint markers I got a while back.Image may be NSFW.
Clik here to view.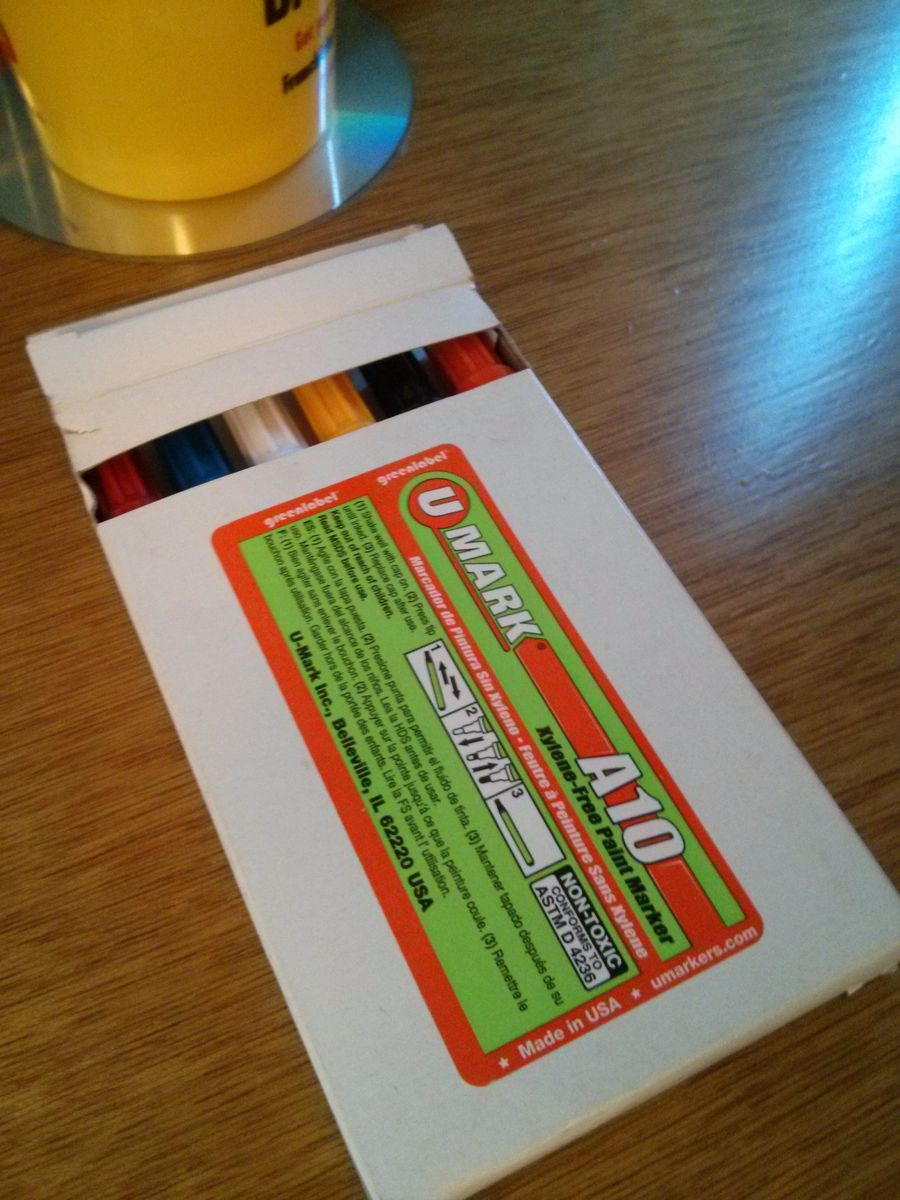
A test paint on a scrap of wood.
Image may be NSFW.
Clik here to view.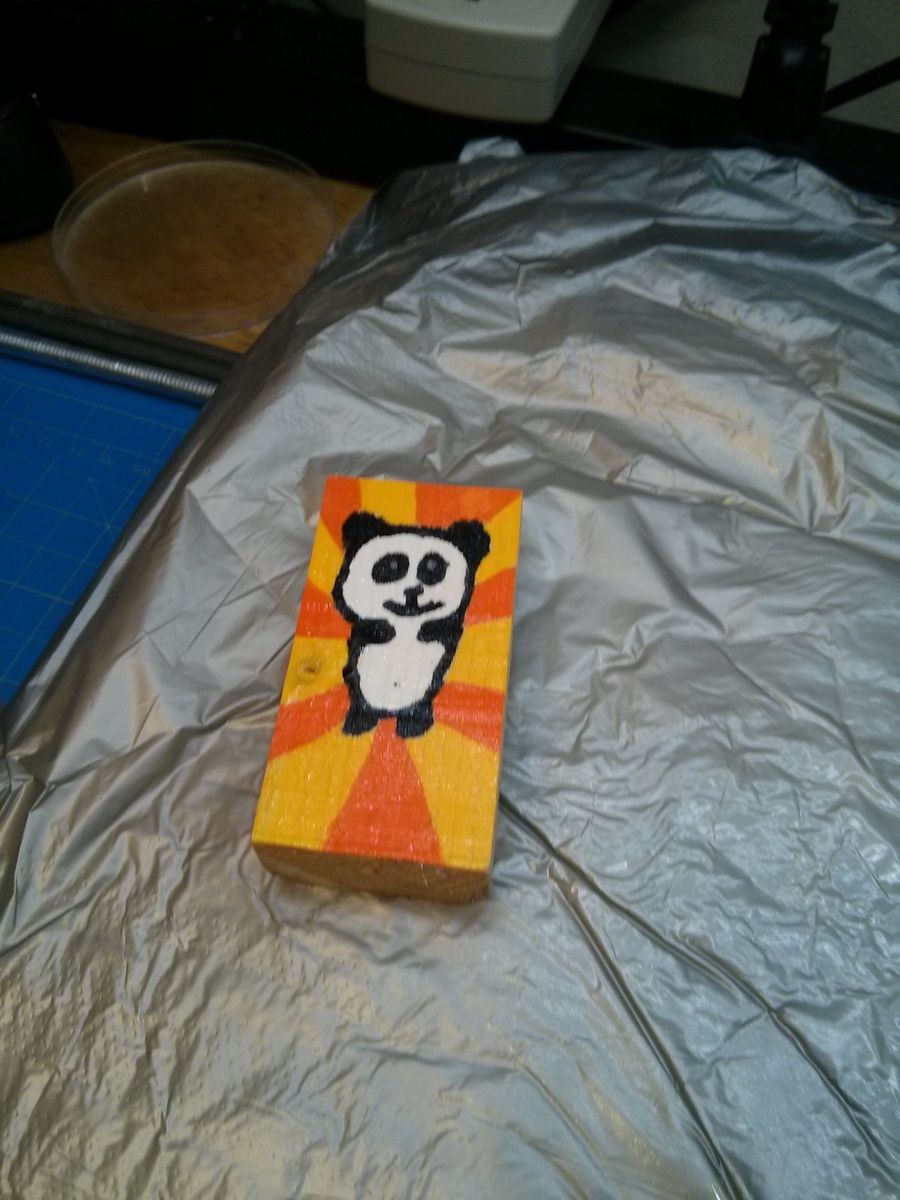 Preparing to paint the real thing.
Image may be NSFW.
Clik here to view.
The planned art sketched out.
Image may be NSFW.
Clik here to view.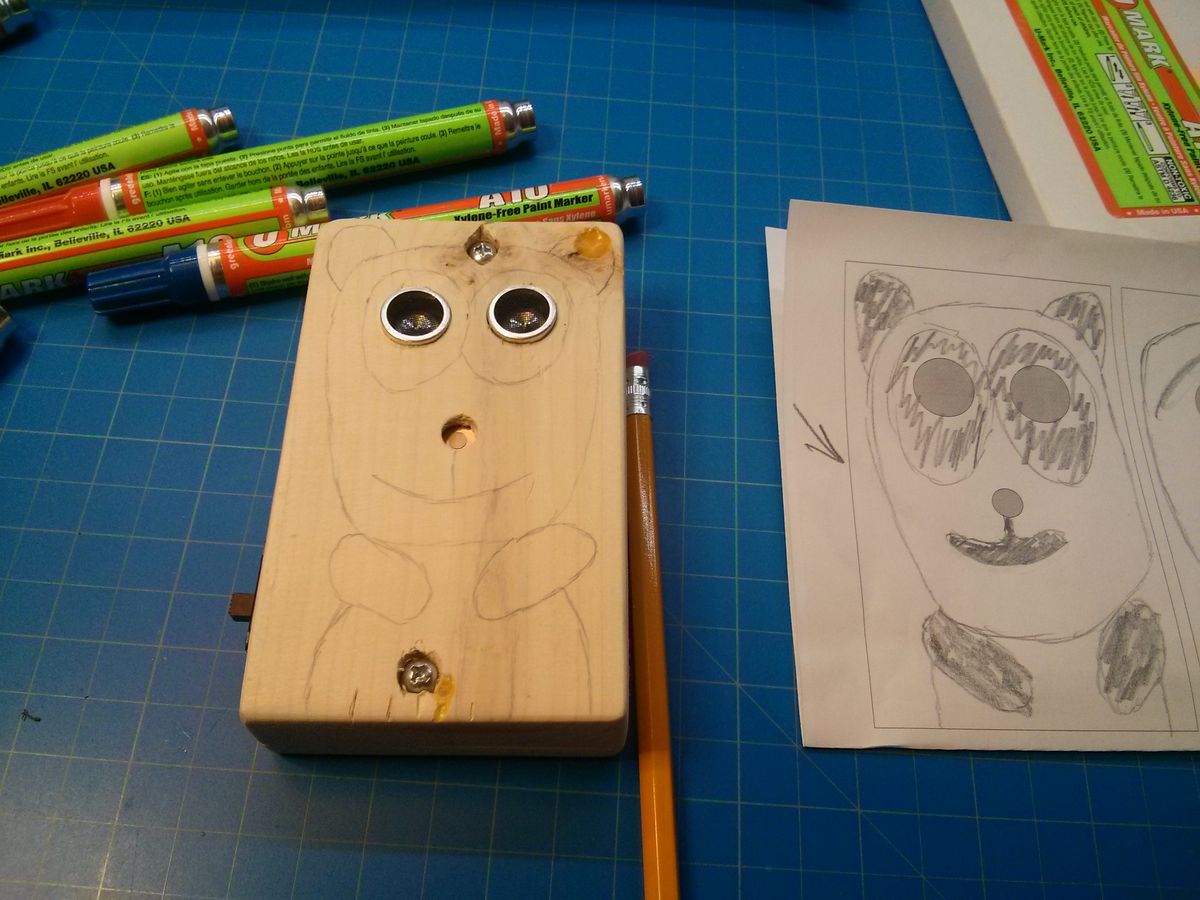 Painting!Image may be NSFW.
Clik here to view.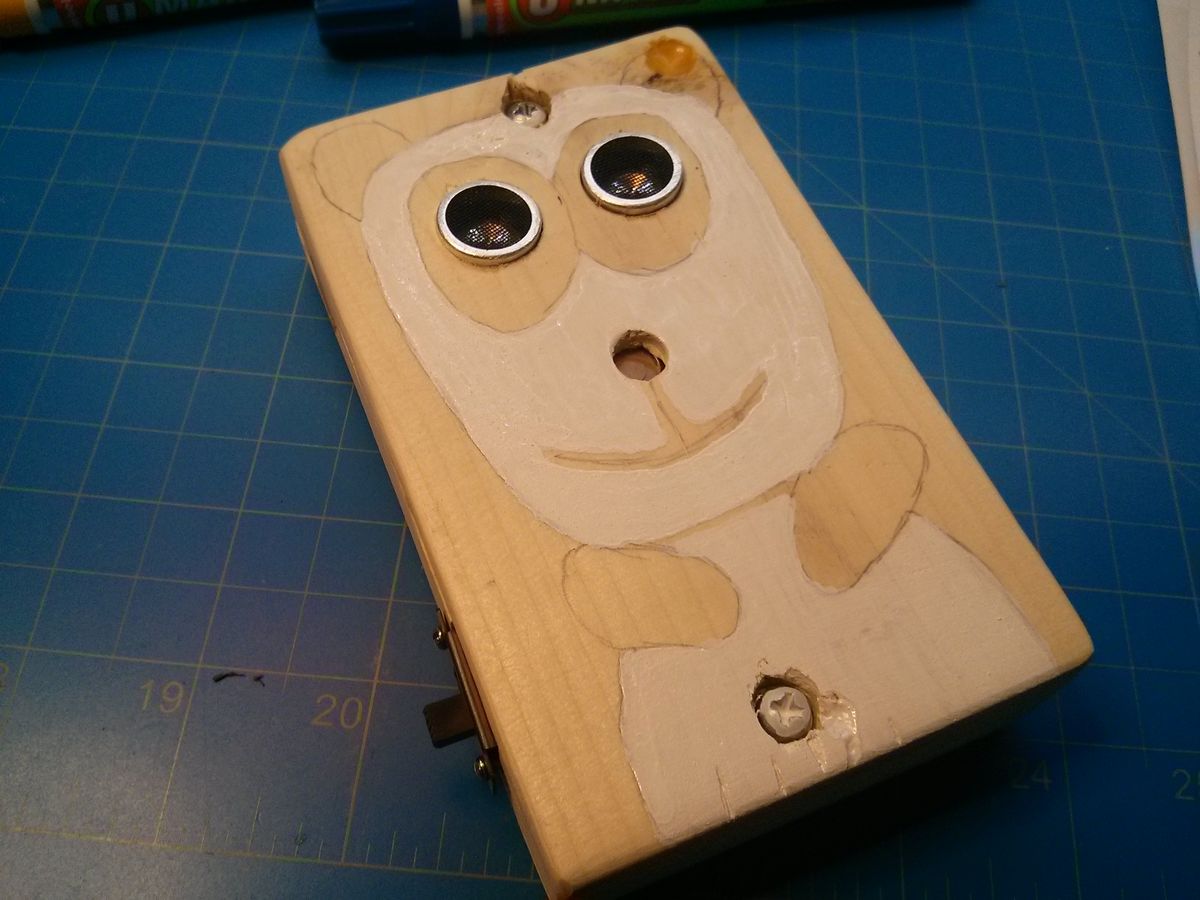 Image may be NSFW.
Clik here to view.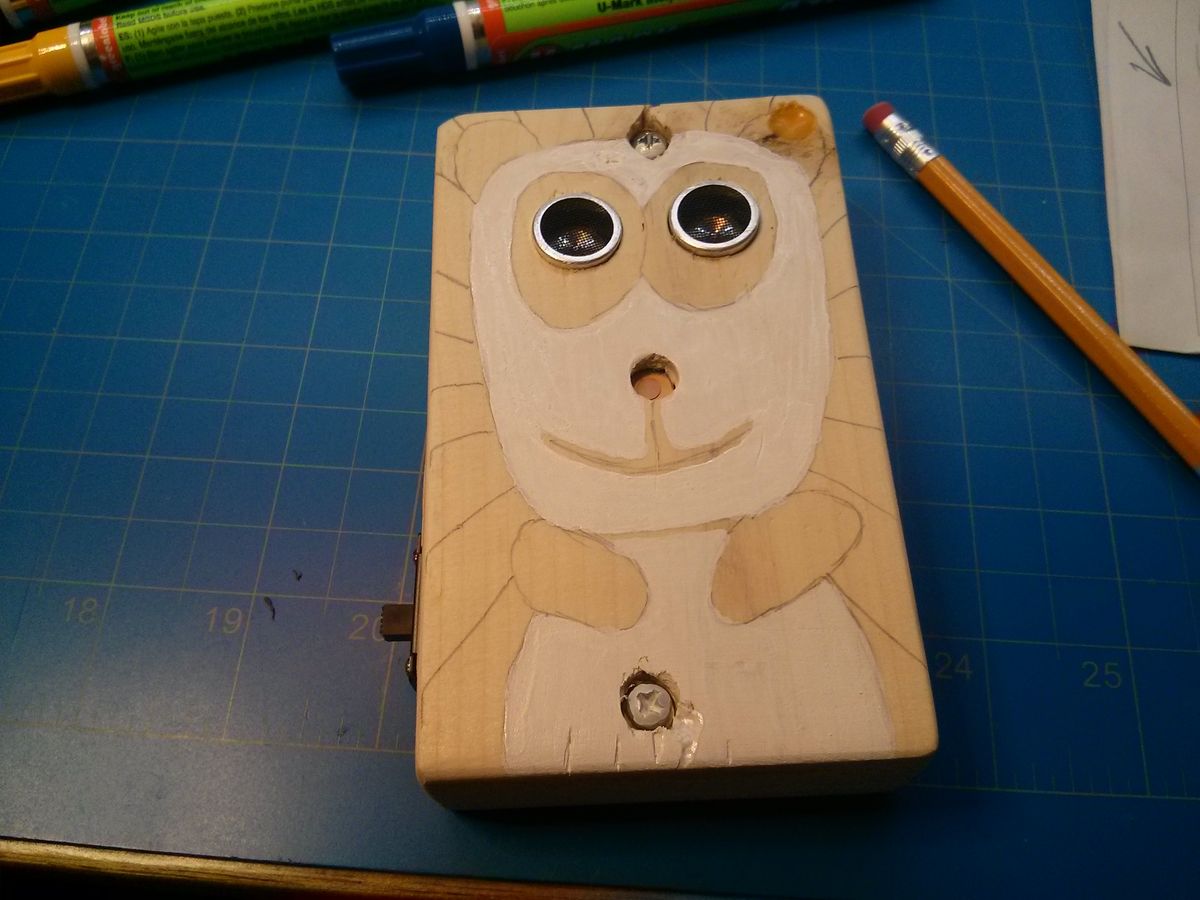 Image may be NSFW.
Clik here to view.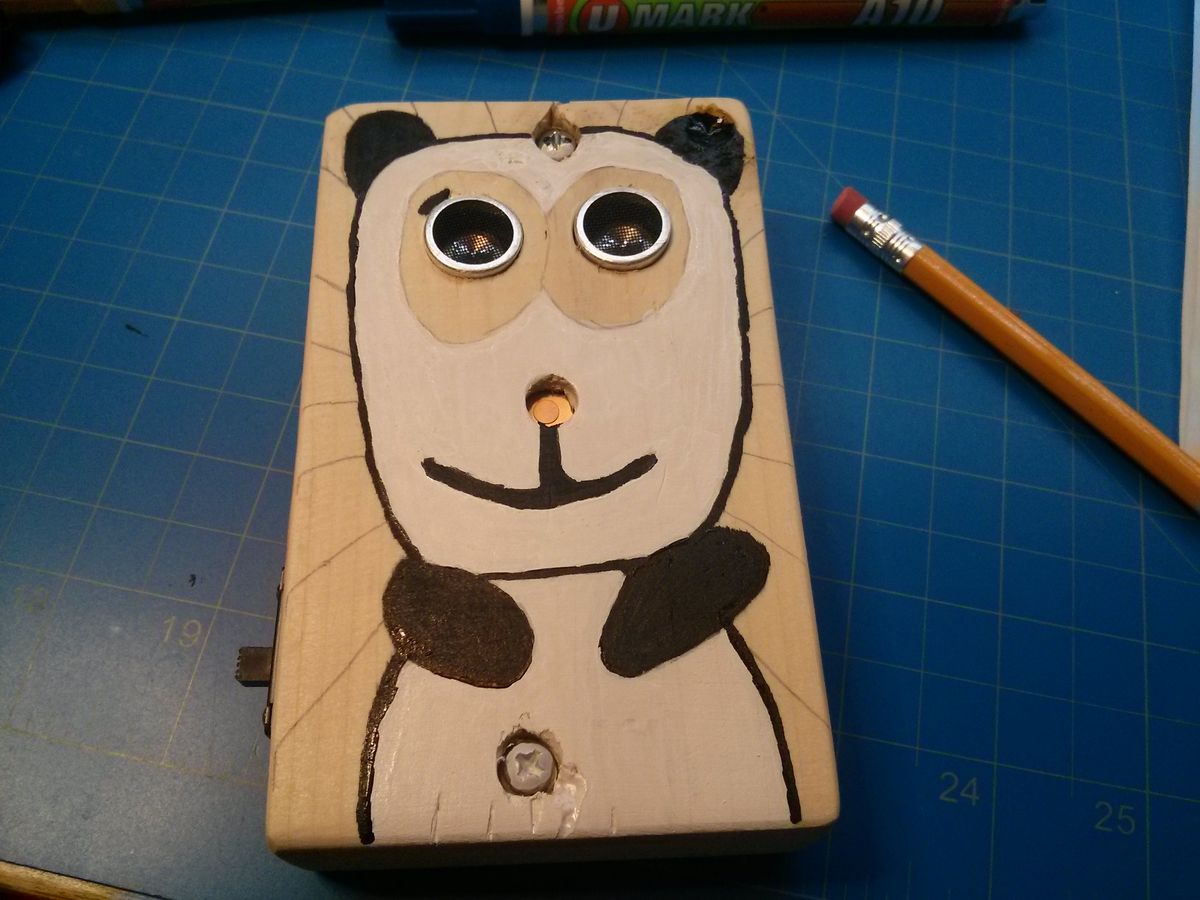 Image may be NSFW.
Clik here to view.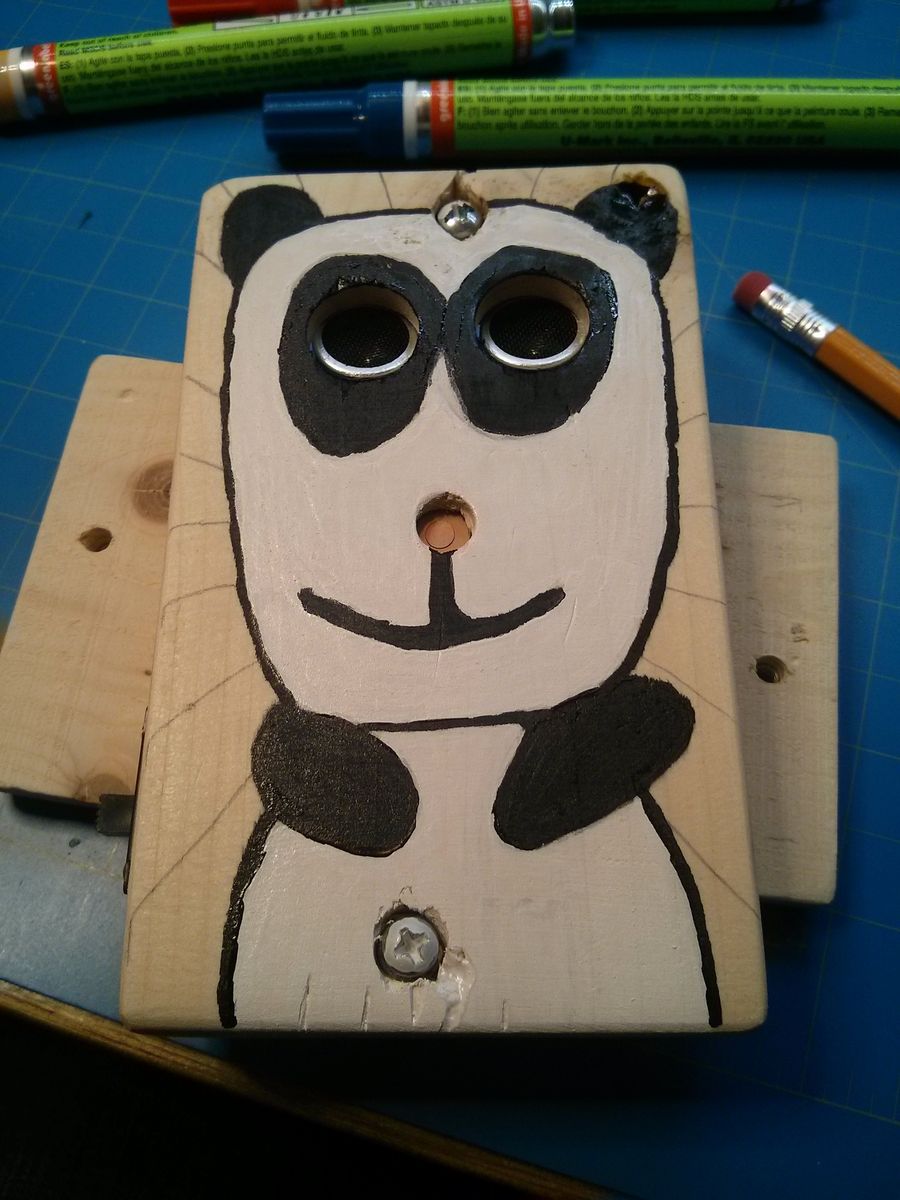 Image may be NSFW.
Clik here to view. Image may be NSFW.
Clik here to view.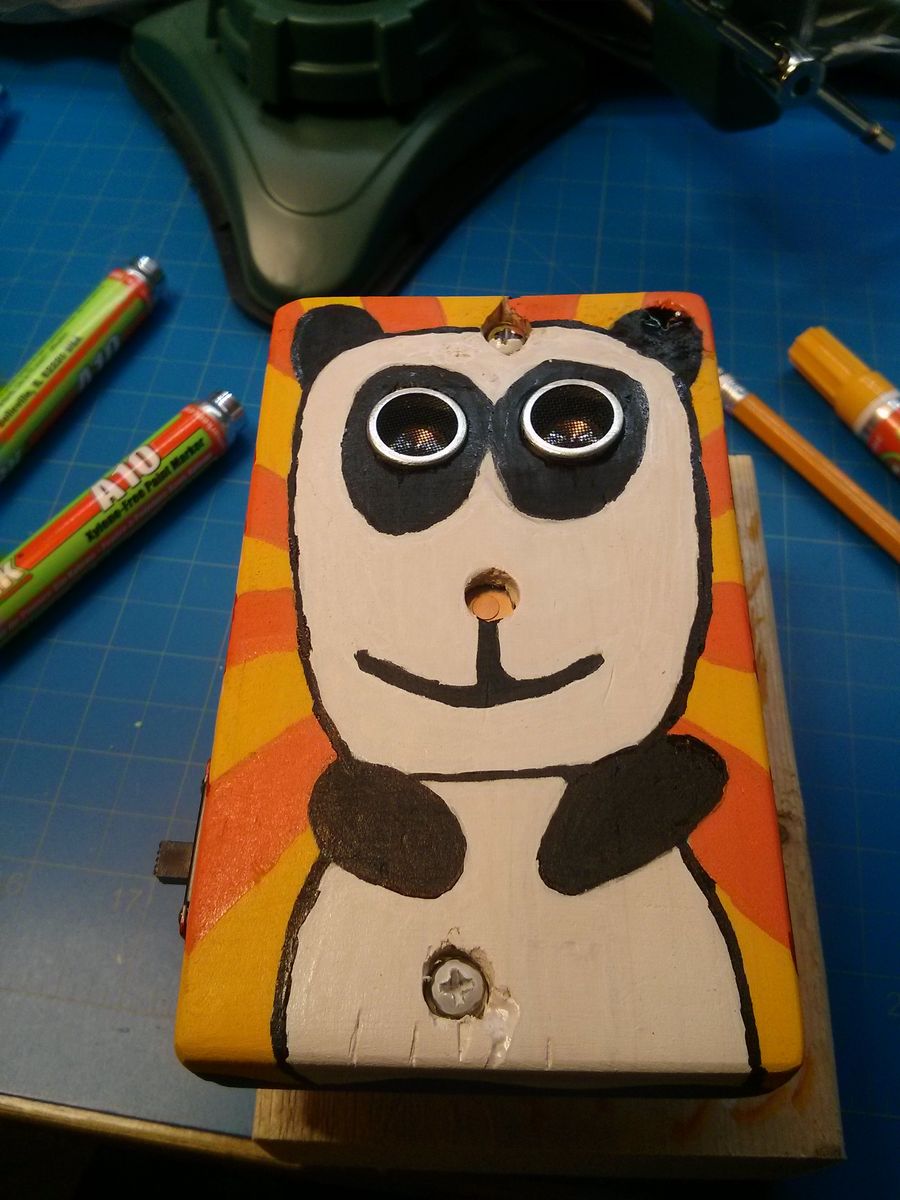 Image may be NSFW.
Clik here to view. Image may be NSFW.
Clik here to view. Image may be NSFW.
Clik here to view.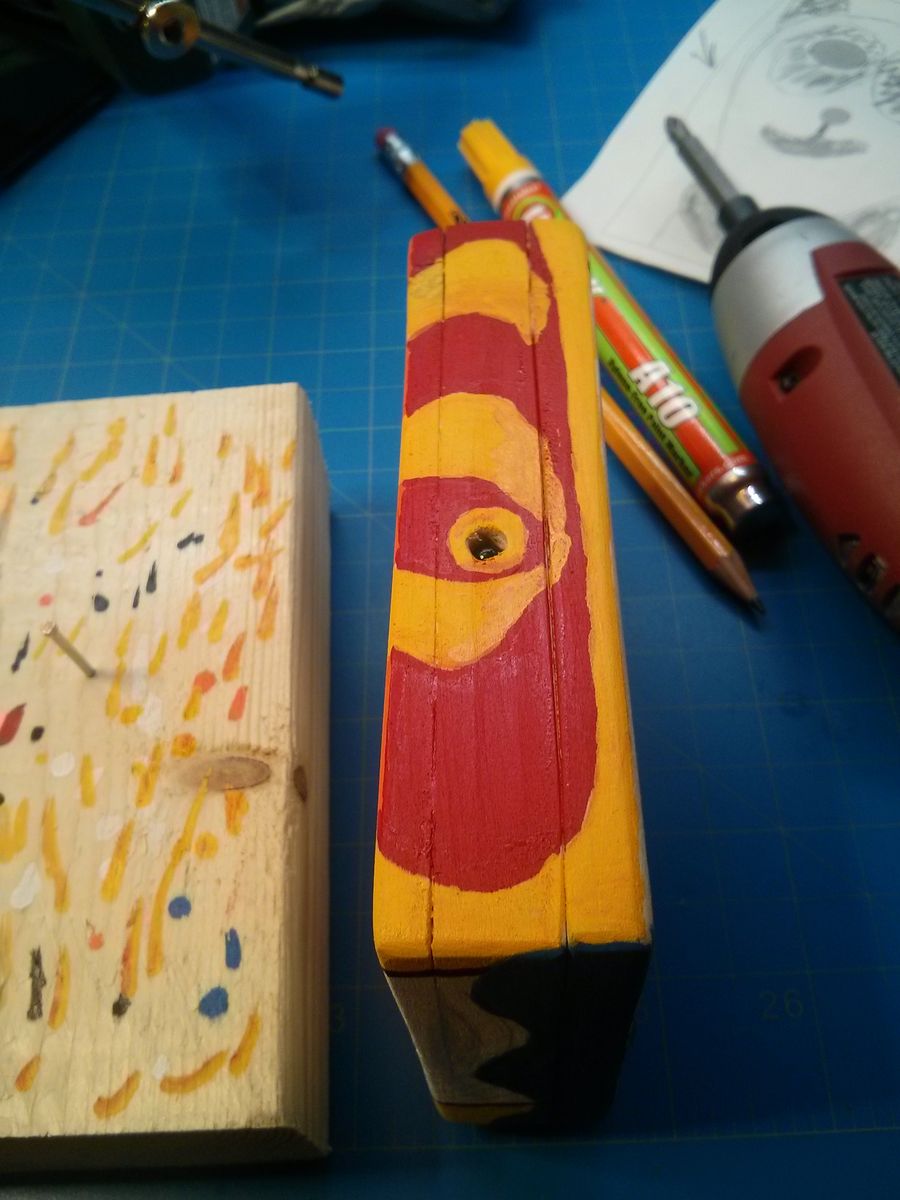 Image may be NSFW.
Clik here to view.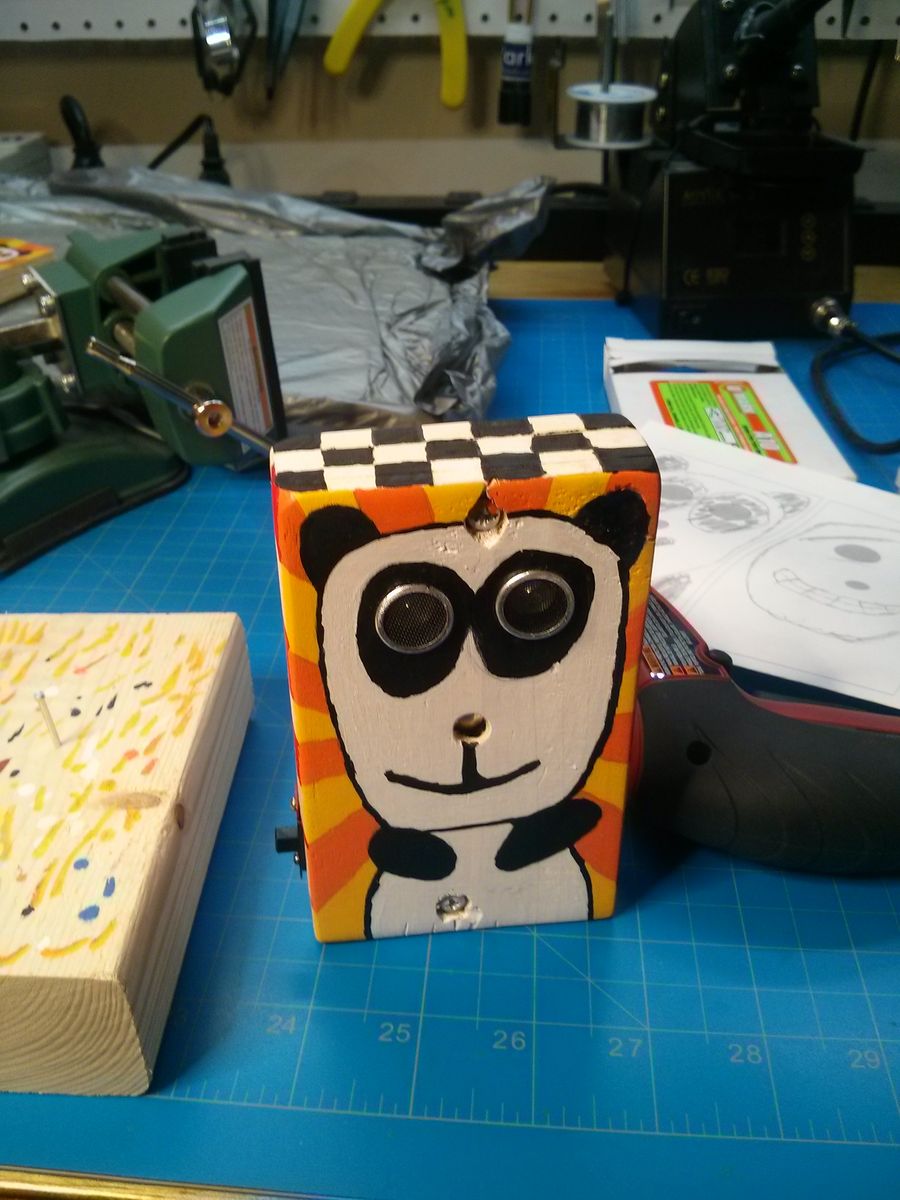 Dog!Image may be NSFW.
Clik here to view. Preparing to finish it with spray lacquer, again based on this guy’s technique.
Image may be NSFW.
Clik here to view.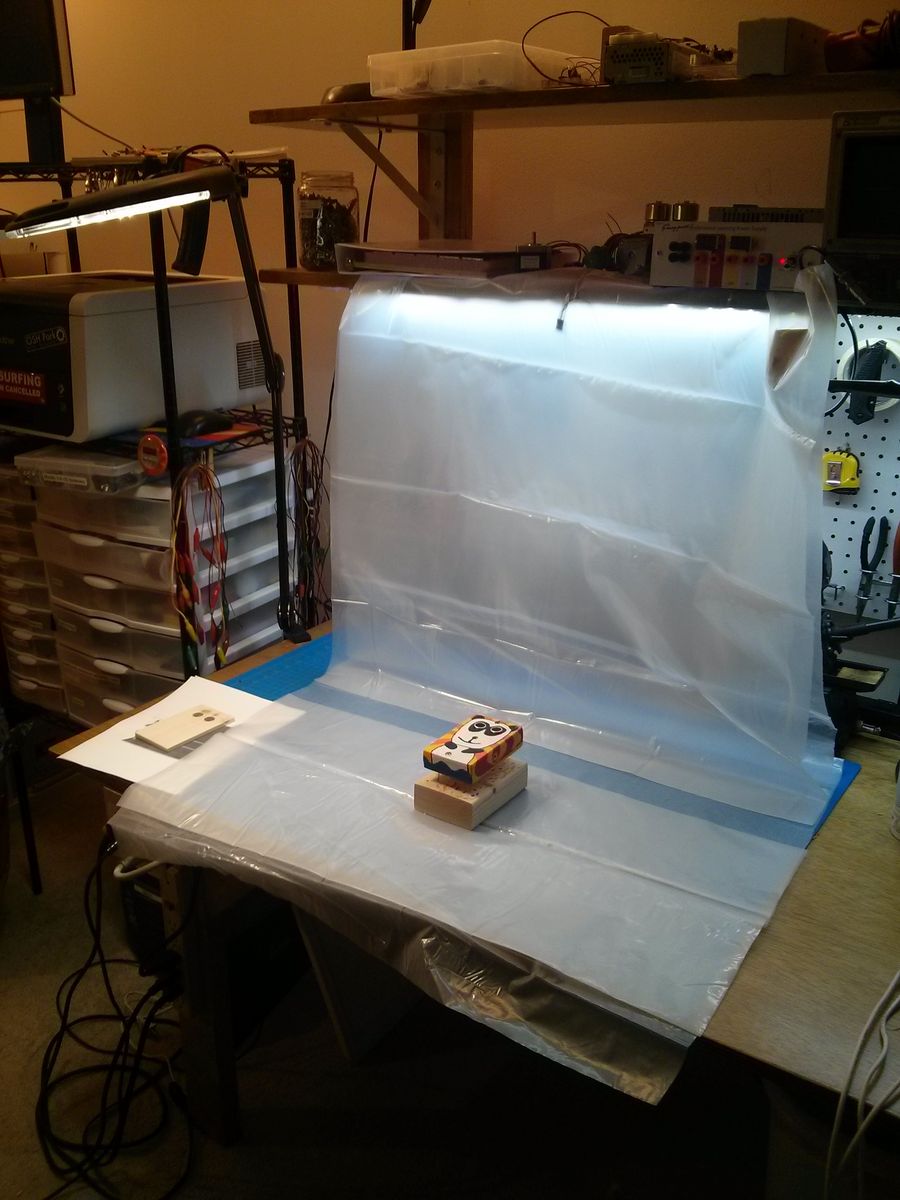
Removed the ultrasonic and put a woodscrew in the nose to protect the speaker.
Image may be NSFW.
Clik here to view.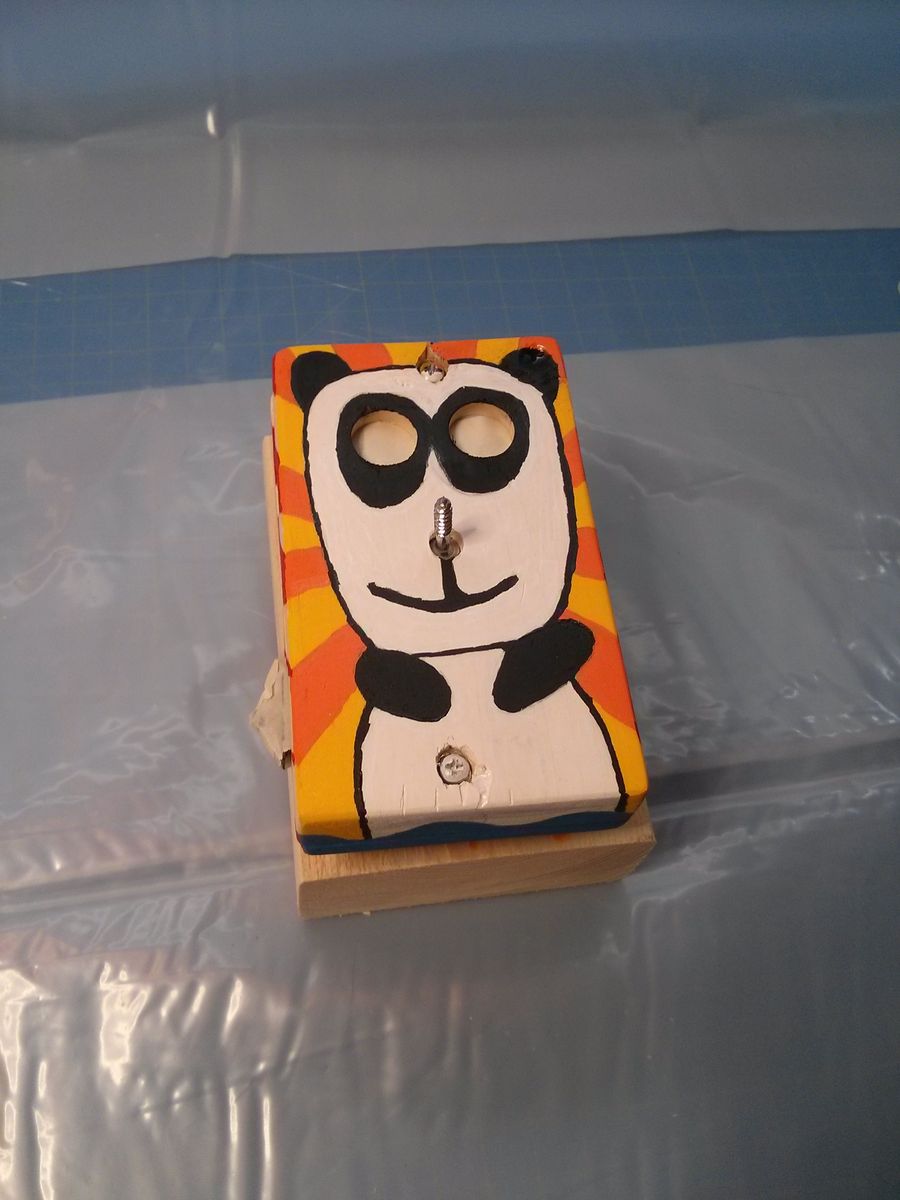
First coat.Image may be NSFW.
Clik here to view.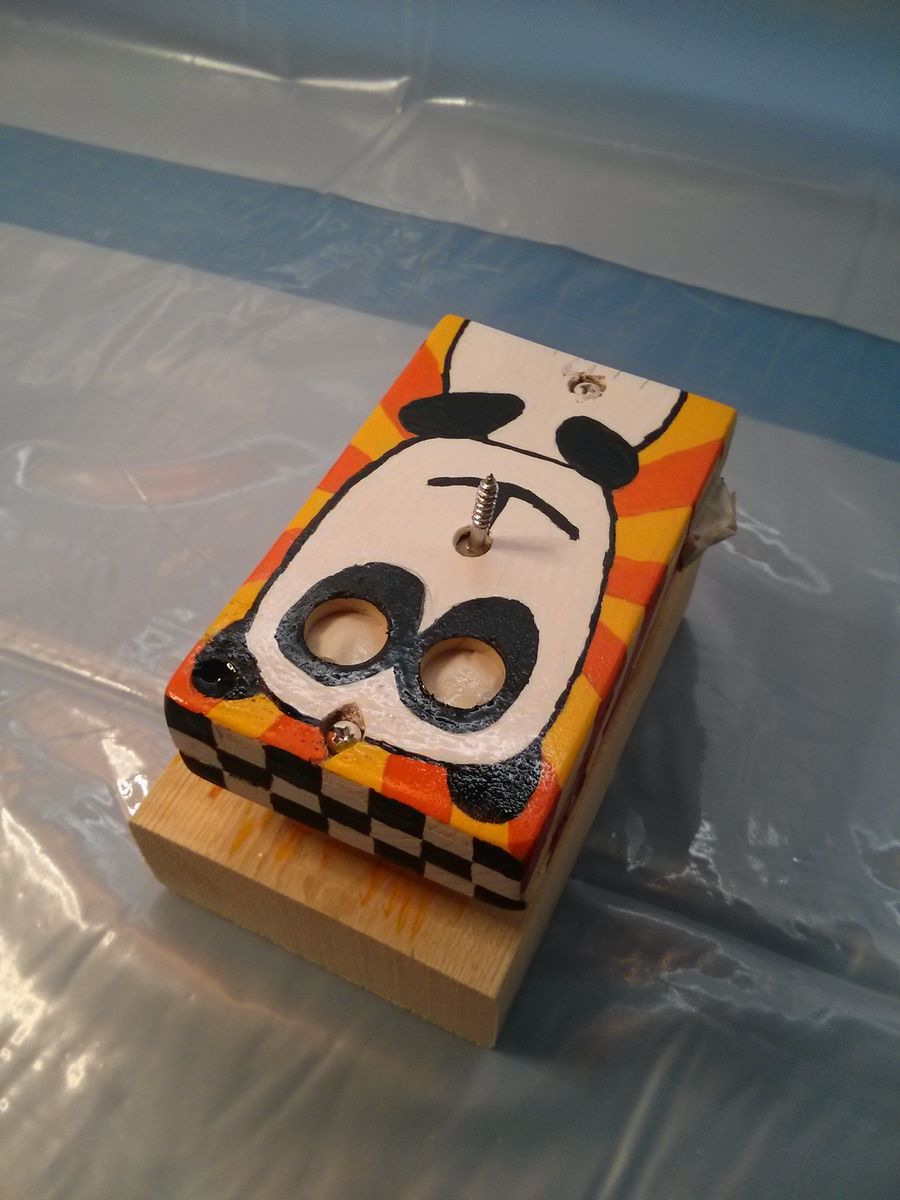
Here’s the finished Pandaphone right before I wrapped it:
Image may be NSFW.
Clik here to view.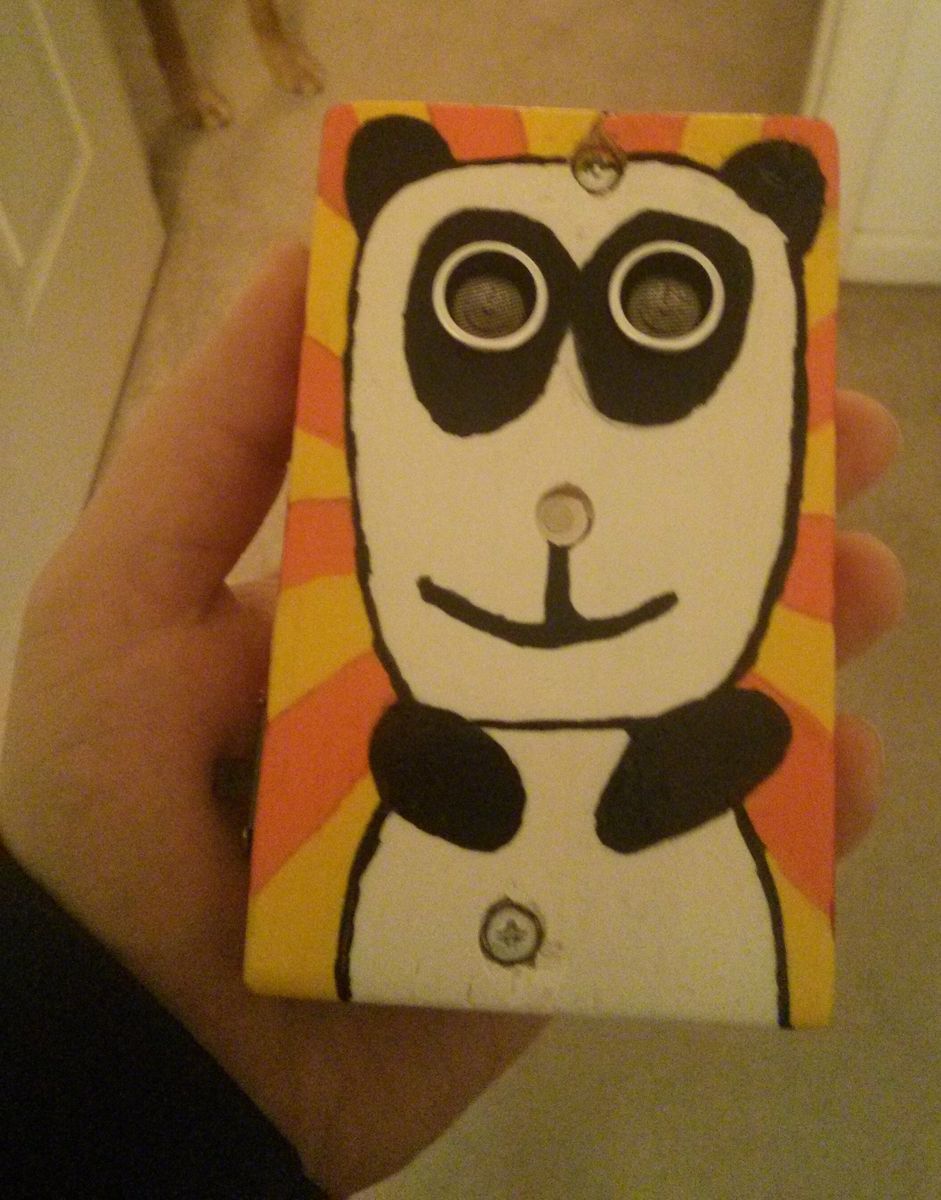 Image may be NSFW.
Clik here to view.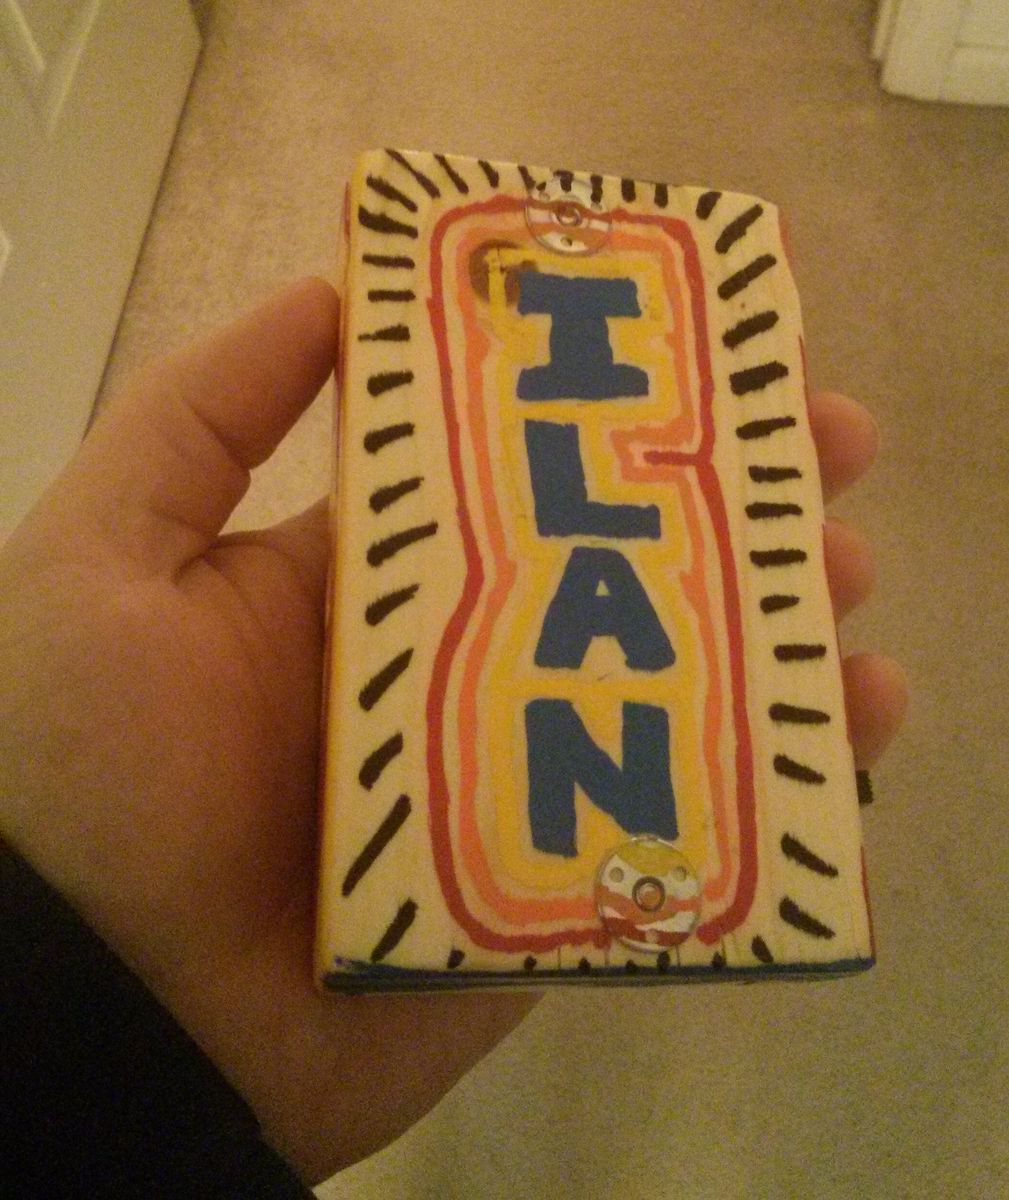
Christmas day, time for unwrapping…
Image may be NSFW.
Clik here to view. Image may be NSFW.
Clik here to view.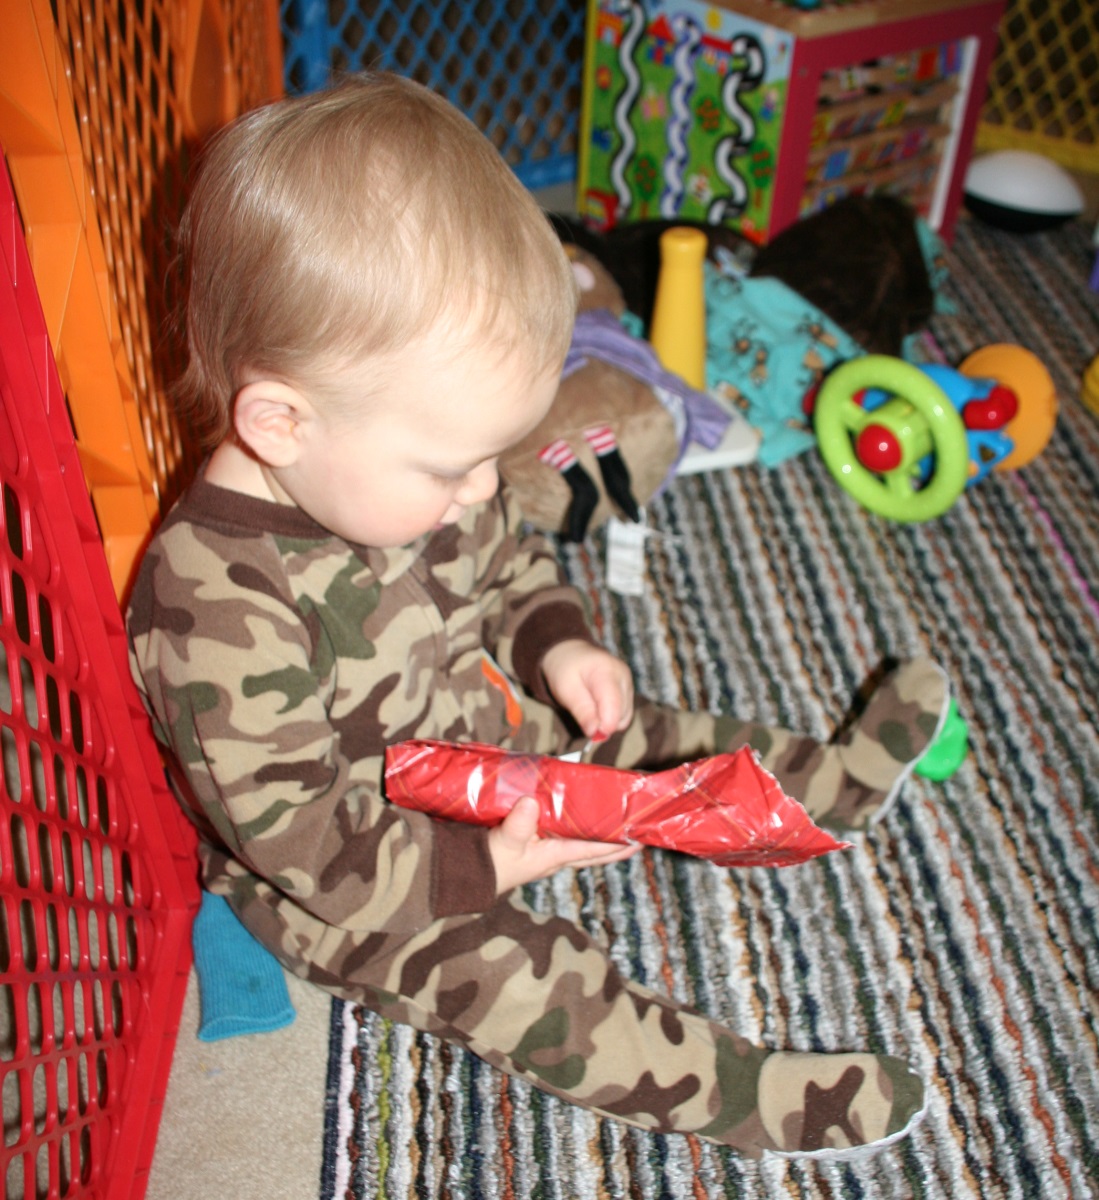
Does he like it???
Image may be NSFW.
Clik here to view.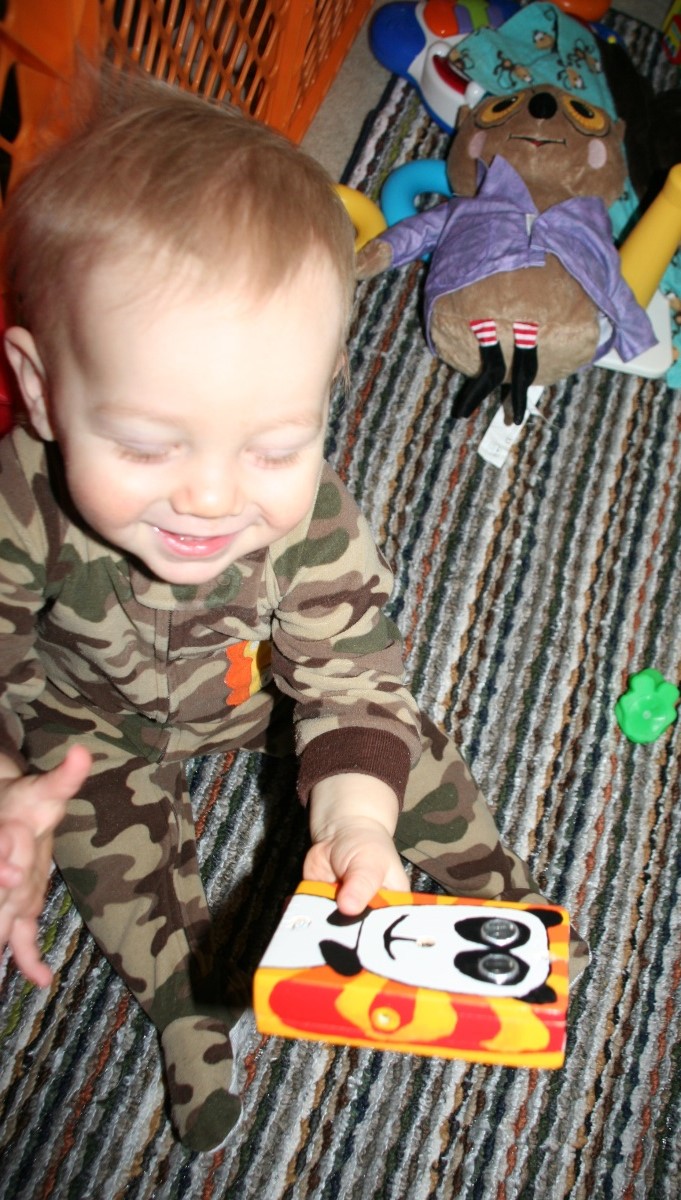
He does!
Hello? Yes, this is baby.
Image may be NSFW.
Clik here to view.
PANDAPHONE REVEAL YOUR SECRETS!!Image may be NSFW.
Clik here to view.
Video: